
DIY Lampshade Kits: The Easiest Way to Craft Stunning Handmade Lamp Shades at Home
There is something deeply satisfying about creating a piece of home decor with your own two hands, and few crafts deliver that satisfaction quite like lampshade making. If you have ever admired a fringed Victorian shade or a delicate silk-covered fixture and wondered how it was made, the answer is simpler than you might think. With the right supplies, a bit of patience, and a good set of instructions, anyone can learn this rewarding hobby from home.
This guide walks you through everything you need to know about getting started with Lampshade Kits, including what they include, how to choose the right one, and how to turn your finished project into a beautiful piece of decorative lamp shades for any room in your house.
What's Included in a DIY Lampshade Making Kit and Why Are They So Popular?
A lampshade making kit is a complete, ready-to-assemble package that includes everything a crafter needs to build a handmade shade from start to finish. Instead of hunting down individual supplies from different retailers, a well-curated kit brings together the wire frame, fabric, trim, lace, and adhesive tools in one convenient bundle.
These kits have grown in popularity for a few clear reasons:
They make a traditionally intimidating craft accessible to total beginners.
They eliminate the guesswork of matching fabric, frame size, and trim style.
They allow crafters to create a one-of-a-kind, handcrafted lampshade that simply cannot be purchased in a retail store.
They make a thoughtful, budget-friendly hobby gift for anyone who loves sewing, crafting, or home decorating.
Whether you are furnishing a Victorian-style parlor or simply want a unique accent piece for your living room, a DIY lampshade kit gives you full creative control over the final look.
Who Should Try a DIY Lampshade Making Kit?
You do not need to be an experienced seamstress or professional crafter to enjoy this hobby. These kits are designed for a wide range of skill levels, including:
Complete beginners who want a fun new hobby with a tangible, useful result
Experienced crafters looking to expand into a new decorative art form
Interior decorating enthusiasts who want a custom shade that matches a specific color palette
Gift-givers searching for a memorable, handmade present idea
If you can follow step-by-step instructions and enjoy working with your hands, you already have what it takes to succeed with a lampshade crafting kit.
What's Typically Included in a Lampshade Kit?
While the exact contents vary depending on the style you choose, most kits are built around a few essential components that work together to create a finished shade.
The Wire Frame
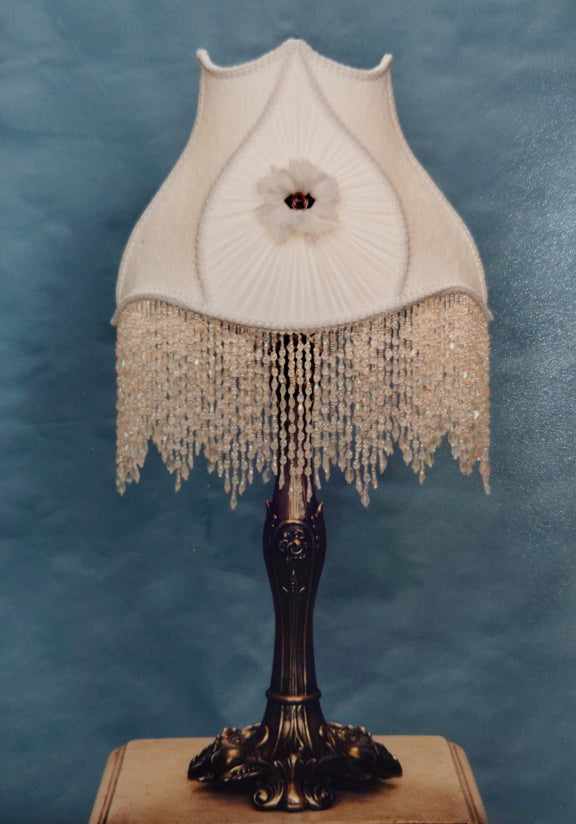
Every handmade lampshade starts with a sturdy wire frame, which acts as the skeleton of the piece. Frames come in a variety of shapes and sizes, from classic bell shapes to whimsical tulip and flower silhouettes. The frame size determines the overall proportions of your finished shade, so it is worth considering the size of your lamp base before choosing a kit.
Fabric, Lace, and Trim
The fabric is where the personality of your shade really comes through. Many kits use elegant materials like silk, lace overlays, and decorative fringe to achieve a romantic, old-fashioned aesthetic. These materials are usually pre-selected to coordinate beautifully, so even beginners end up with a polished, professional-looking result.
Adhesives and Assembly Tools
Rather than sewing every panel by hand, many modern kits rely on specialty fabric glue and trim adhesive to attach materials to the frame. This makes the process faster and far more approachable for anyone who has never worked with a wire frame before.
Step-by-Step Instructions
A good kit will also include clear, illustrated instructions or reference an instructional video so you can follow along at your own pace. Pairing a kit with a video tutorial is one of the best ways to avoid common beginner mistakes and achieve a clean, professional finish on your first attempt.
How to Choose the Right Lampshade Crafting Kit for Your Project
With so many frame shapes, colors, and trim combinations available, selecting the right kit can feel overwhelming at first. Here are a few factors to think about before you buy.
Consider the Style of Your Room
Think about the existing decor in the room where your finished lamp will live. A Victorian-style lampshade kit with lace and fringe works beautifully in a traditional or vintage-inspired space, while a simpler silhouette might suit a more modern or transitional room.
Match the Frame Size to Your Lamp Base
Before ordering, measure your existing lamp base or note the space where the finished shade will sit. Frames typically list both a height and a width, so pairing the right frame size with your base ensures your finished piece looks proportional rather than oversized or too small.
Decide Between a Beginner Kit and an Advanced Design
If this is your first time working with a wire frame, start with a straightforward shape before moving on to more elaborate flower or tulip-style designs. Many suppliers also offer a beginner's bundle that pairs a starter kit with an instructional video at a discount, which is an excellent way to build confidence before tackling a more advanced project.
Think About Color and Material
Most kits arrive in versatile shades like off-white or ivory, which allow the fabric and trim to take center stage. Neutral colors also make it easier to coordinate your finished shade with existing furniture, curtains, and other decorative lamp shades already in your home.
Step-by-Step: How to Make a Lampshade at Home
Once your supplies arrive, the general process for assembling a handmade shade looks something like this:
Prepare the frame. Wrap the top and bottom rings of the wire frame with binding tape to create a smooth surface for attaching fabric.
Cut and attach the fabric panels. Following the pattern provided with your kit, cut the fabric to size and secure it to the frame using fabric glue or hand stitching.
Add the lace overlay. If your kit includes a lace layer, this is applied over the base fabric to add texture and dimension.
Attach trim and fringe. Finish the top and bottom edges with decorative trim to hide raw seams and complete the look.
Let everything dry and cure. Allow adhesives to set fully before handling the shade or placing it on a lamp base.
Attach to your lamp base. Once complete, fit your finished shade onto the harp of your lamp for the finishing touch.
Following an instructional video alongside your kit can make each of these steps much easier to visualize, especially for first-time crafters.
Creative Ways to Use Your Handmade Lampshade
A finished shade is not just functional, it is a statement piece. Here are a few ideas for incorporating your new creation into your home.
Elevate a Bedroom Nightstand
A soft, fringed shade on a bedside lamp instantly adds warmth and romance to a bedroom, especially when paired with warm, low-wattage lighting.
Create a Focal Point in the Living Room
A larger statement shade on a floor lamp can serve as an eye-catching decorative lamp shade and conversation piece in a living room or reading nook.
Give the Gift of a Handmade Lampshade
Because each piece is one-of-a-kind, a handcrafted shade also makes a meaningful, personal gift for a housewarming, wedding, or birthday.
Restore an Antique Lamp Base
If you have inherited or collected a vintage lamp base without a shade, building a custom shade to match is one of the best ways to bring the entire piece back to life.
The History Behind Victorian-Style Lamp Shade Making
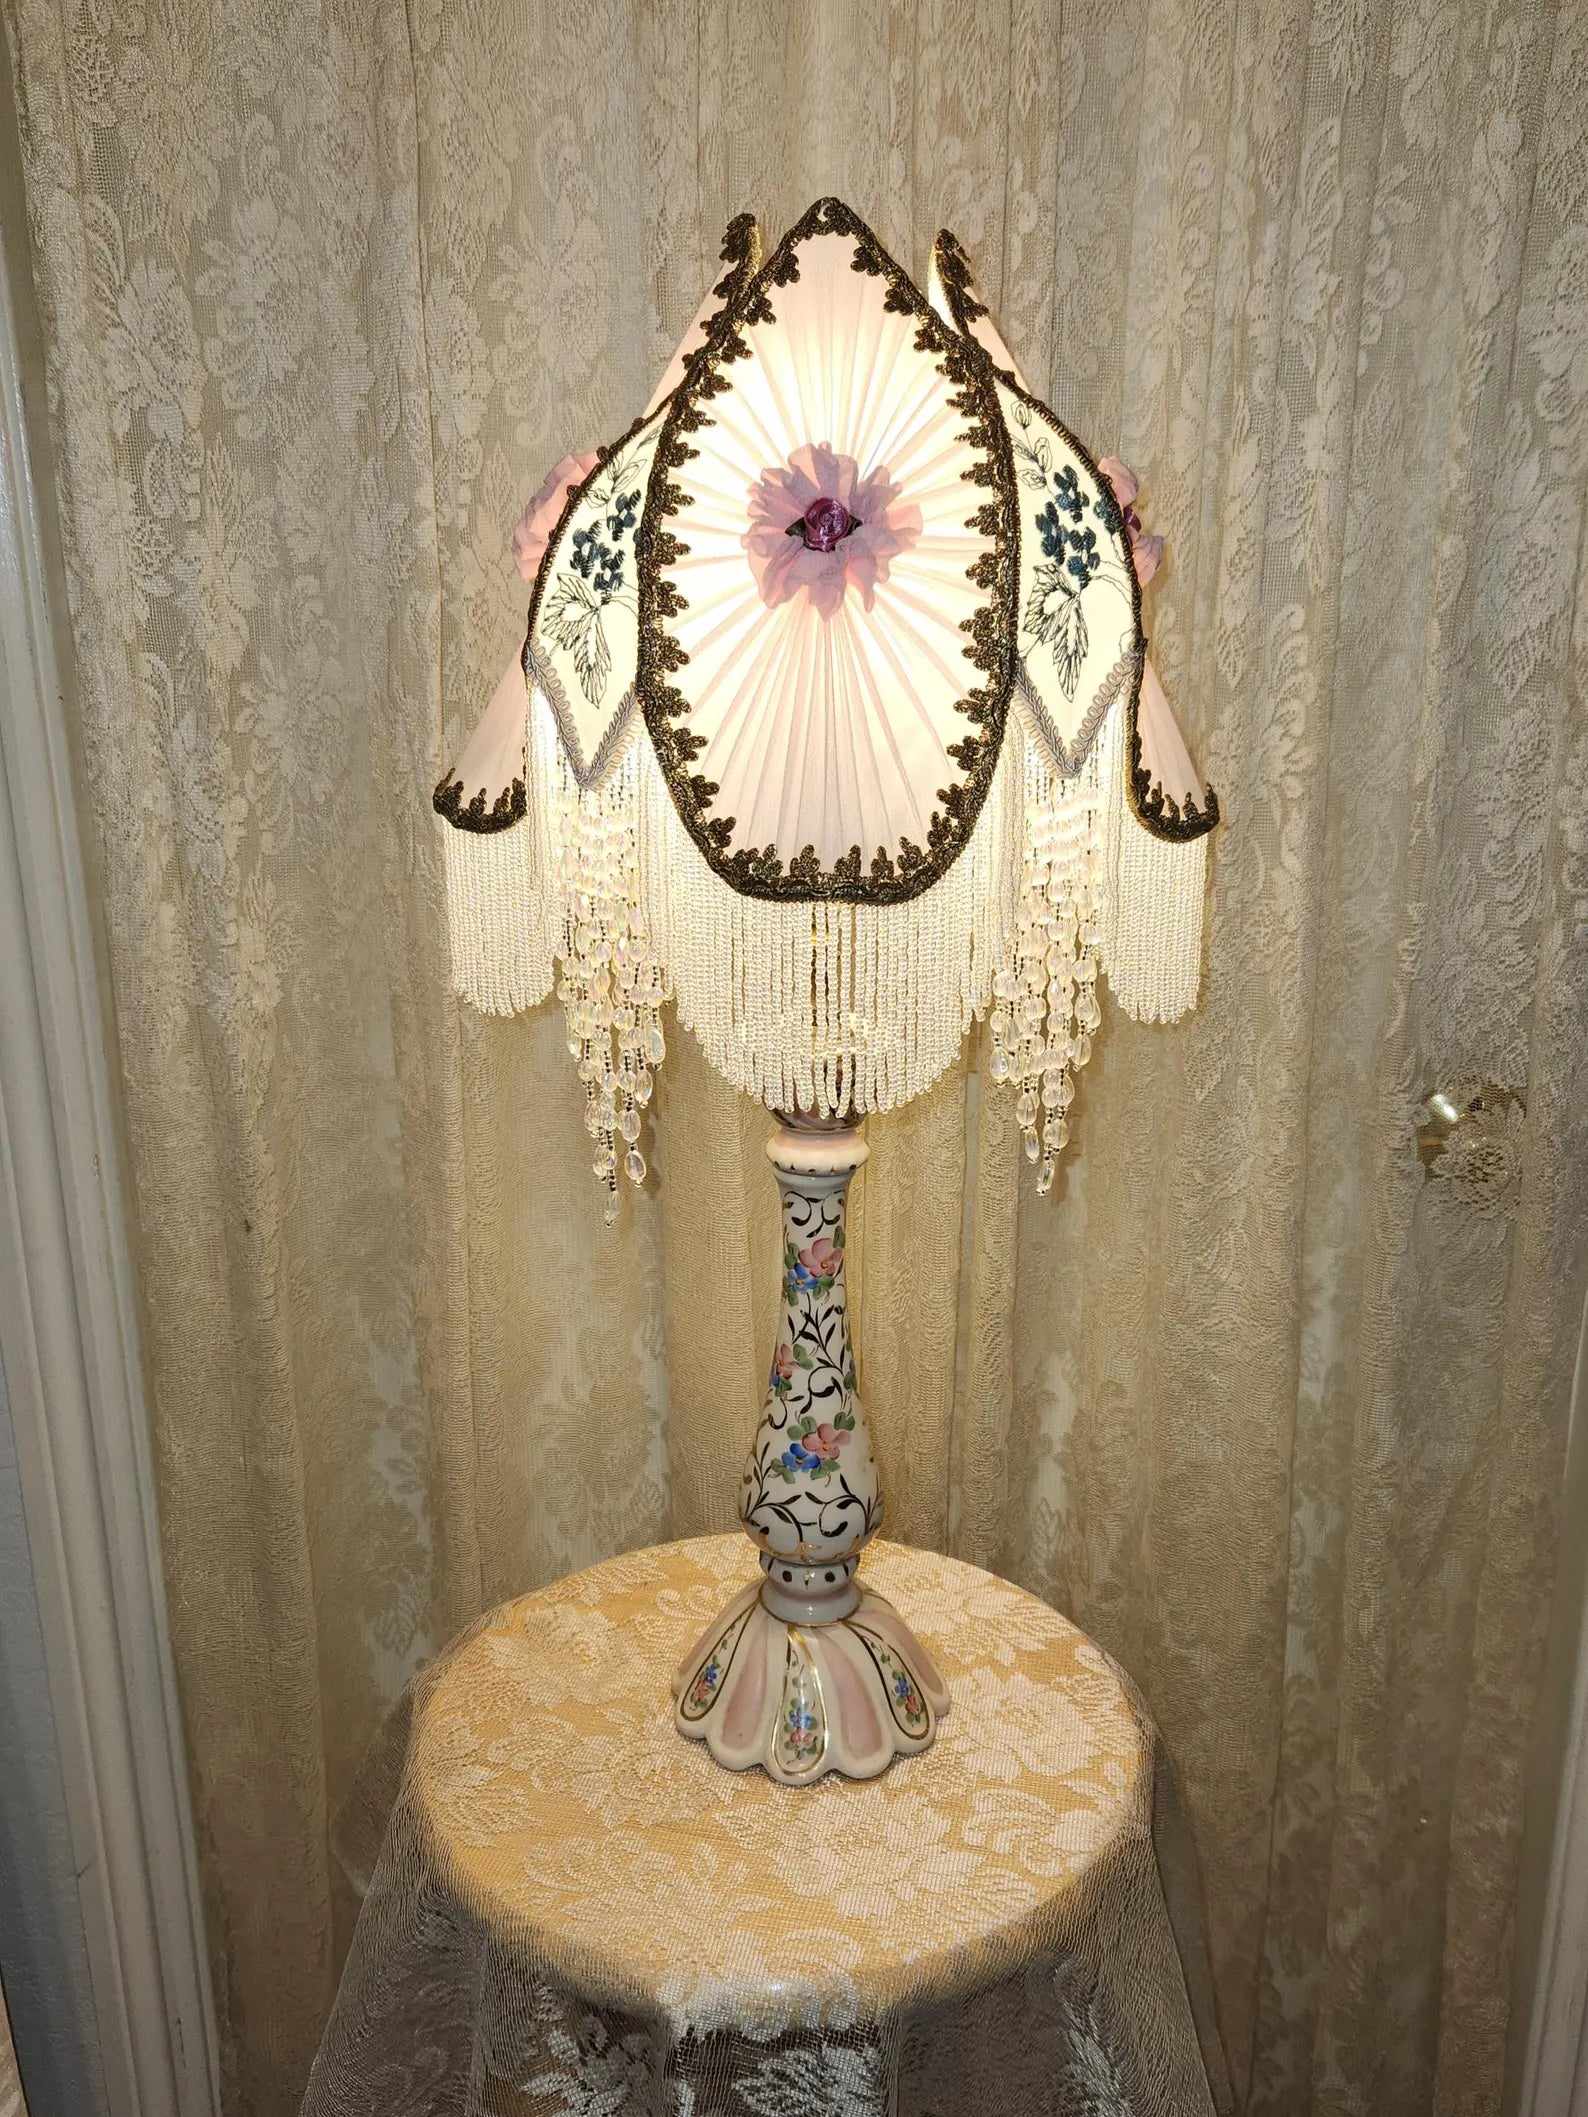
Part of the charm of this hobby comes from its roots in Victorian-era craftsmanship. During the late nineteenth century, elaborate fabric shades trimmed with lace, fringe, and beading were considered a mark of a well-appointed home. Gaslight and early electric fixtures created harsh, unfiltered light, so richly layered shades were prized both for softening the glow and for showcasing needlework skill.
Today's Victorian-style lampshade making kits draw directly from this tradition, letting modern crafters recreate the same layered, romantic look without needing generations of hand-sewing experience. The wire frame construction, fabric layering, and decorative trim methods used in these kits are essentially updated versions of techniques that have been passed down for well over a century, which is part of why finished pieces feel so timeless.
Caring for Your Handmade Lamp Shade
Once your project is complete, a little routine care will keep it looking beautiful for years to come.
Dusting and Cleaning
Use a soft, dry cloth or a feather duster to gently remove dust from fabric and trim. Avoid harsh cleaning sprays, which can damage delicate materials like silk or lace.
Positioning Away From Direct Sunlight
Prolonged exposure to direct sunlight can fade fabric over time. Position lamps away from windows, or use curtains to filter direct light if the lamp sits near a sunny spot.
Choosing the Right Bulb
Lower-wattage, warm-toned bulbs are typically gentler on delicate fabrics and trim compared to high-heat bulbs. This is especially important for shades made with silk or other heat-sensitive materials.
Storing Extra Shades
If you plan to swap shades seasonally or store a finished piece, keep it in a breathable box away from moisture and direct sunlight to preserve both the color and the structural integrity of the frame.
Building a Collection of Decorative Lamp Shades
Many hobbyists find that once they complete their first project, they are eager to try a second or third design. Building a small collection of decorative lamp shades allows you to experiment with different frame shapes, fabric textures, and trim styles while developing your skills further.
Some crafters like to coordinate shades throughout their home, using similar color palettes or trim details to create a cohesive look from room to room. Others prefer to treat each lamp as its own individual statement piece, mixing and matching frame silhouettes for a more eclectic style. Either approach works well, and both make excellent use of the techniques you will pick up while working through your first kit.
Tips for Lampshade-Making Success
Work in a clean, well-lit space so you can see fine details like lace placement and trim alignment.
Dry-fit your fabric before gluing to avoid wasting material on a cut that does not quite line up.
Take your time with trim placement, since this is often the detail that makes a shade look truly professional.
Watch an instructional video first if you are working with an unfamiliar frame shape.
Start with a simpler design before attempting an intricate multi-layered lace pattern.
Final Thoughts
Learning to craft your own shades is a rewarding hobby that combines creativity, patience, and a love of home decor. Whether you are drawn to a classic Victorian silhouette or a playful tulip-shaped design, starting with a complete, well-organized set of supplies takes the guesswork out of the process and sets you up for a beautiful result. Browse a curated selection of Lampshade Kits to find the frame, fabric, and trim combination that matches your vision, and enjoy the process of building a truly one-of-a-kind, handcrafted piece for your home.
Frequently Asked Questions About DIY Lampshade Making Kits
1. What is included in a typical lampshade kit?
Most kits include a wire frame, fabric panels, lace or trim, fabric glue, and instructions. Some kits are bundled with an instructional video for extra guidance.
2. Do I need sewing experience to complete a lampshade making kit?
No. Many kits are designed with beginners in mind and rely on fabric glue rather than stitching, so no prior sewing skill is required.
3. How long does it take to finish a handmade lampshade?
Timing varies by design complexity, but most beginner projects can be completed over a weekend, including drying time for adhesives.
4. What size frame should I choose for my lamp?
Measure your existing lamp base and harp before ordering. Frame listings typically include both height and width so you can match the shade proportionally to your base.
5. Can I customize the color of my finished lampshade?
Yes. While many kits arrive in neutral tones like off-white, you can dye fabric, add colored trim, or layer additional decorative elements to personalize the final look.
6. Is a lamp base included with the kit?
Typically, no. Most kits focus specifically on the shade-making materials, and the lamp base is purchased or provided separately.
7. What is the difference between a beginner kit and an advanced kit?
Beginner kits usually feature simpler frame shapes and fewer material layers, while advanced kits may include multiple fabric layers, intricate lace patterns, or more detailed trim work.
8. Can I use a lampshade kit to restore an antique lamp?
Absolutely. Building a custom shade is one of the best ways to bring an antique or vintage lamp base back to life with a shade that matches its original character.
9. Are these kits a good gift idea?
Yes. Because each finished piece is unique, a lampshade crafting kit makes a thoughtful and memorable gift for anyone who enjoys DIY projects or home decorating.
10. Where can I find a variety of lampshade making supplies and decorative lamp shade options?
You can browse a range of frame shapes, fabrics, and trim styles online through specialty craft suppliers that focus specifically on handmade lampshade materials.

Write a comment ...